


Settings and Configuration
Exit on Close
Turning this option on will shut down the software completely when you click on the X on the top right corner.
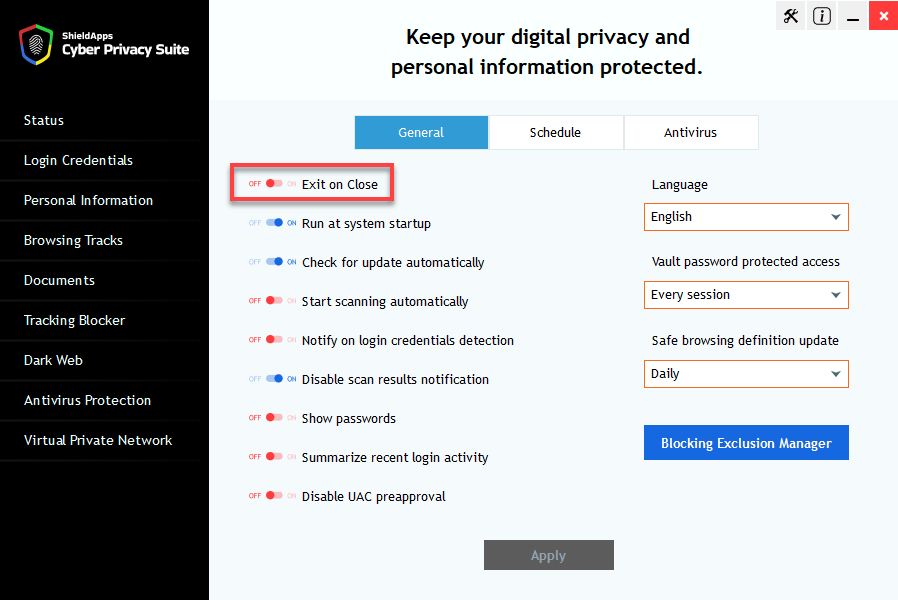
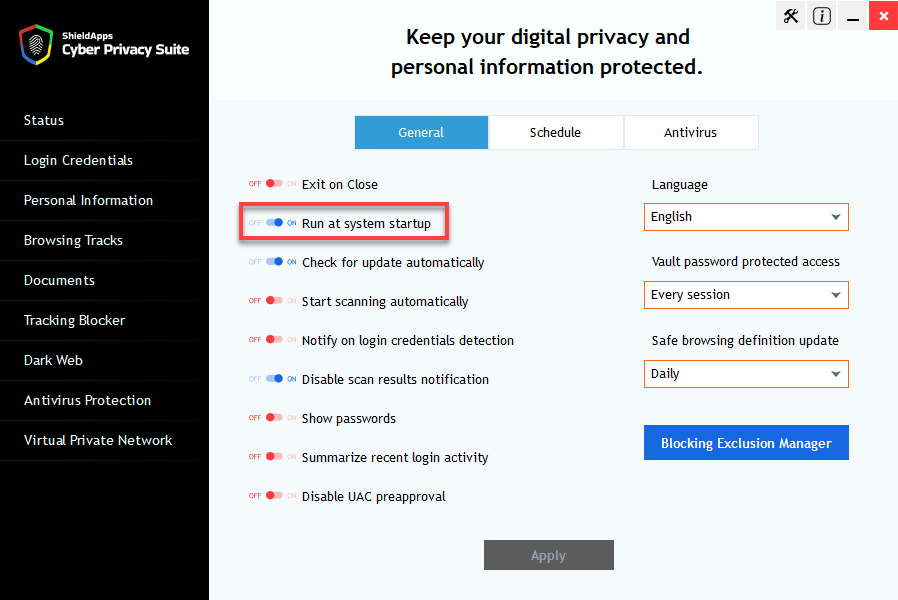
Run System on startup
Turning this option on will start the software in the background every time you start your computer.
Check update automatically
Turning this option on will enable an auto-check for a new version every time you restart your computer
and prompt an update message if applicable.

Start scan automatically
Turning this option on will enable an automated scan that will start upon every system restart.

Notify on login credential detection
Turning this option on will pop a prompt every time you log into a website
and your login credentials are saved on your computer.

Show password
Turning this option on will show your entire password in the login credential screen.

Summarize recent login activity
Turning this option on will pop a daily notification with the recent sites you have logged into.

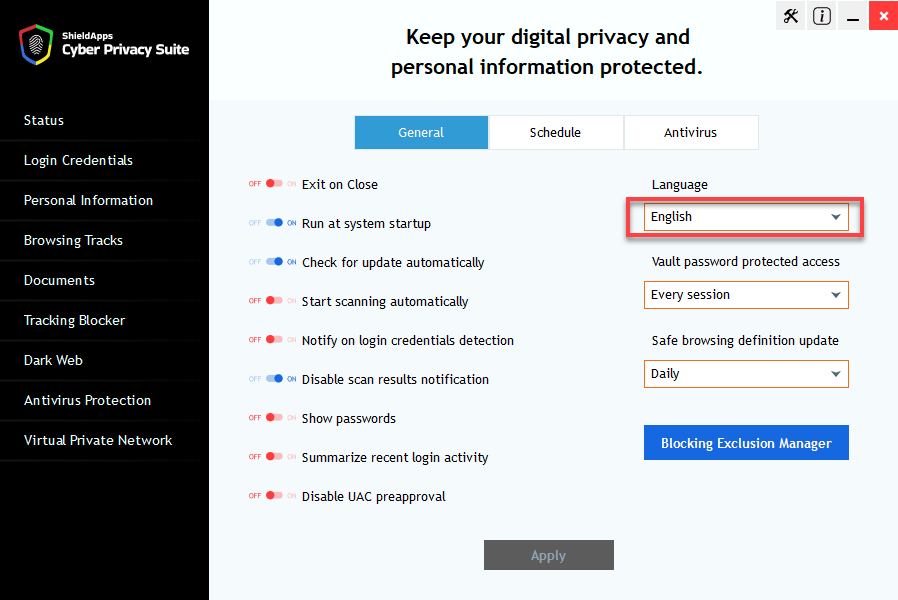
How to change the software language
Go to the setting screen, choose a language and click on the ‘Apply’ button,
the software will restart with the selected language.
Vault password protection access
This setting controls the access to the login credentials and documents vault and lets you to between 3 options.
1. Every Time – every login to the Vaults will require your Windows password.
2. Every Session – You will be prompted for your Windows password only once per session (session ends upon exiting the software )
3. Never – you will be able to access the Vault without a password.

Safe browsing definition update
This will let you choose how often the software threat definitions will be updated (default is daily).

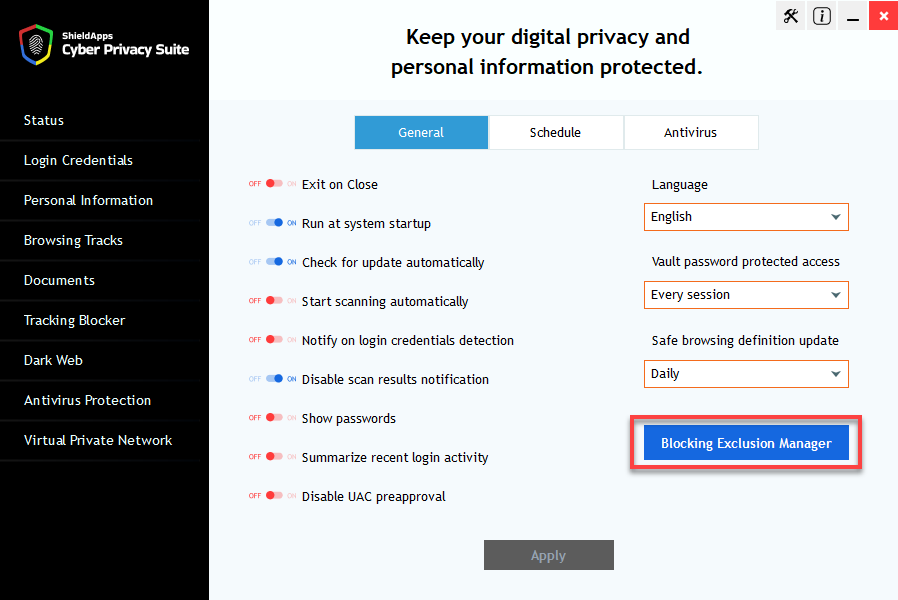
Blocking excluding Manager
The blocking exclusion list is where you would add websites that you do not wish to be blocked,
thus you trust those sites to never be of any harm to you.
How to add or remove a website from the exclusion list
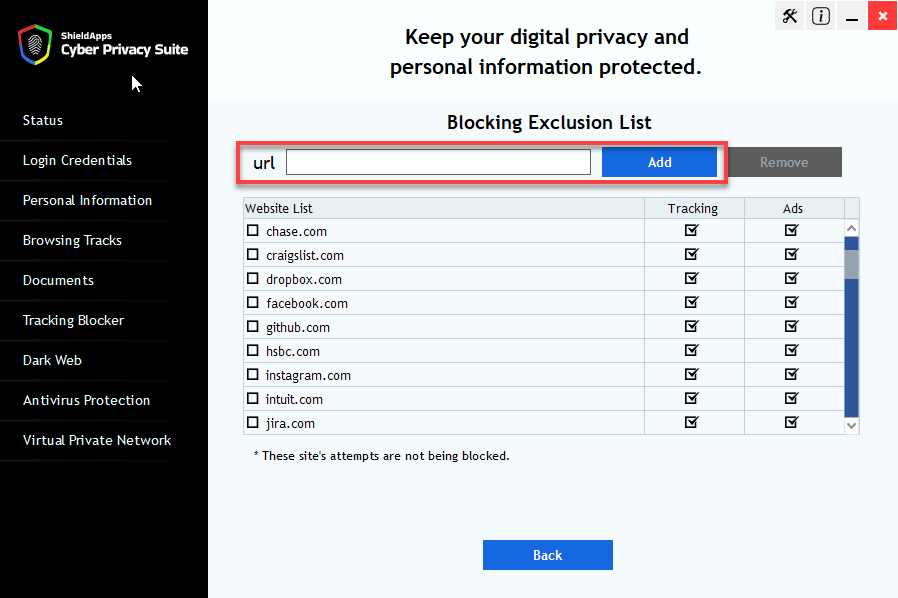
To remove a site from the blocking list
Select the website by checking the box, and click on the remove button.

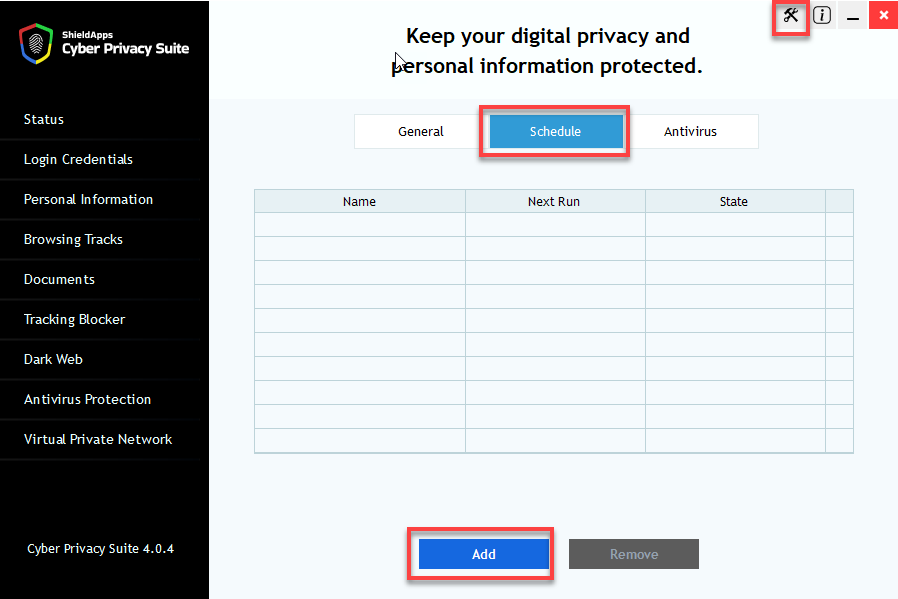
Schedule scan
How to Schedule a scan
– Go to the settings by clicking this icon on the top right corner
– Choose ‘Schedule’
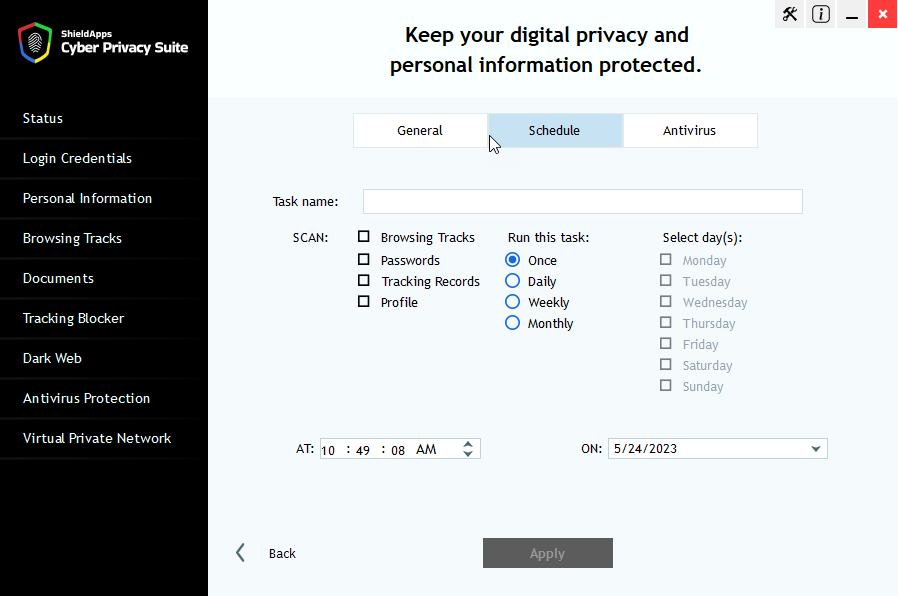
– Click ‘Add’
Add a task name (for example ‘my weekly scan’)
– Choose the parts you would like scanned
– Select scan areas and frequency (daily, weekly etc)
– Click ‘Apply’
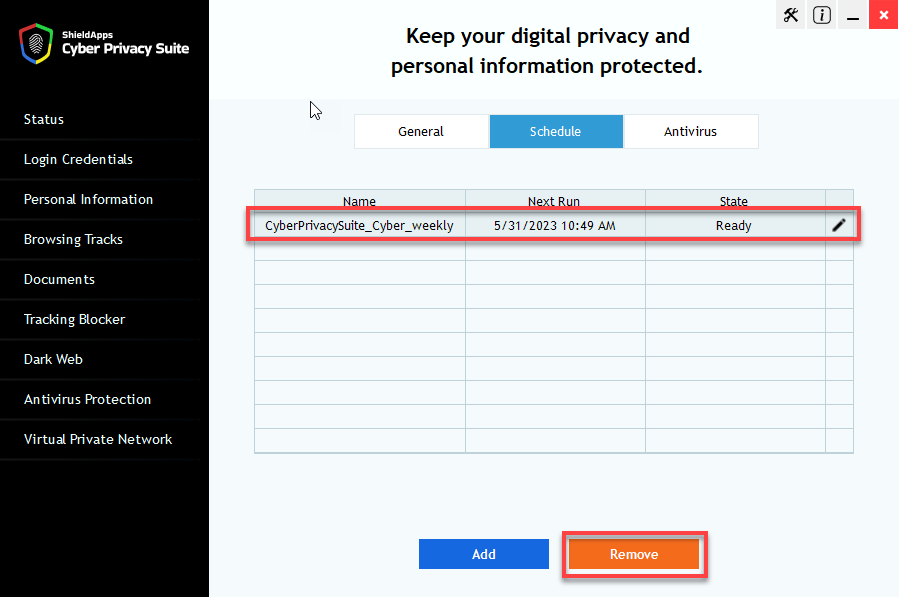
How to delete a scheduled scan
– Go to the settings – > choose the schedule tab
– Select the task you would like to delete
– Click Remove