
Documents
The Document Vault is a very powerful tool that enables you to encrypt and decrypt your personal documents with a single click.
You can store virtually any files or folders on your PC within the Vault, and they will be encrypted and invisible to anyone but you.
How to scan
– Select Scan to search for documents on your computer that may contain personal information and are stored in the more common folders,
such as My Documents, Desktop etc’.
– Select Deep Scan for a full computer scan. Please note – the deep scan may take a while as it goes through all of your computer files
in search of such sensitive information containing documents.
Understanding the scan results
Upon completion of the documents scan, you will see a list of found documents, each document’s type, and the detection type.
Per each document, you can either ignore it or move it to the documents vault.
– Ignore: The ignore option will leave the documents in their current locations and skip it in the next document scan.
– Move to Vault: moving a document to the vault will both encrypt the document with a high level file encryption algorithm as well as remove it from its original location. Unless removed from the vault, these documents can now only be accessed through the vault.
Can I open the file from the result screen, to review it?
Yes, you can, double clicking the name of the file will open the file in its original location.
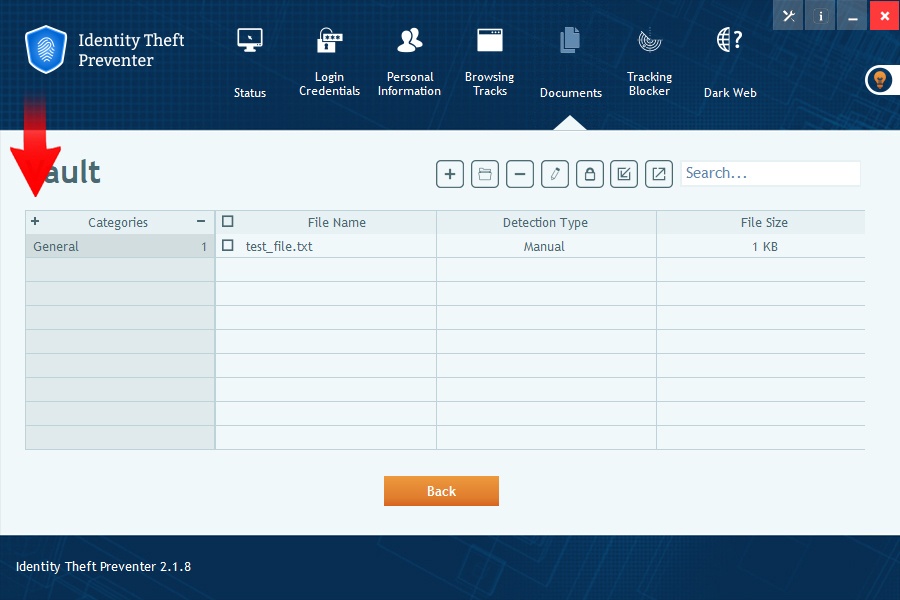
Accessing the Documents Vault
Click on the View Vault button
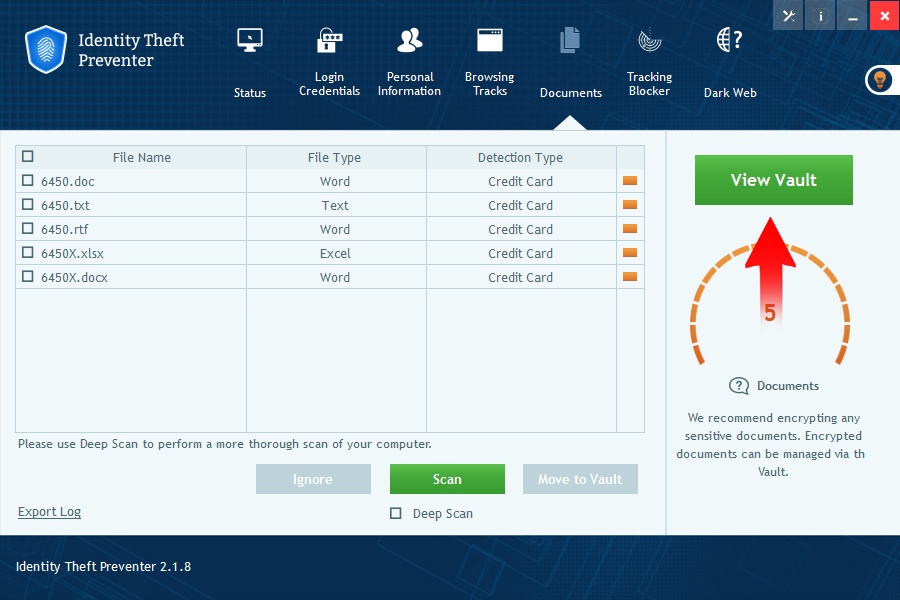
Enter your windows User name and Password and click OK

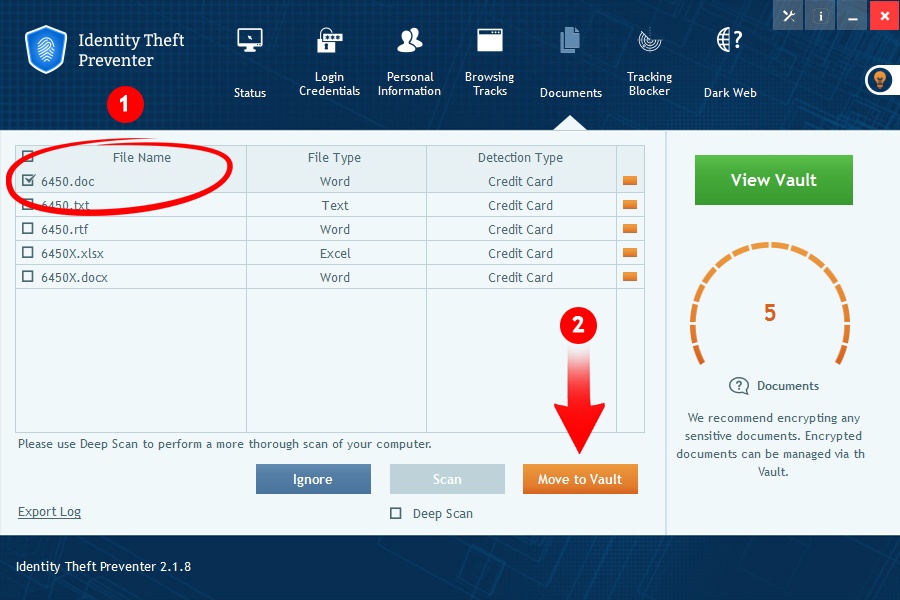
How to add a new document to the Vault
User can add a document to the vault in 3 ways
– first: by choose file form the scan result screen, click on the checkbox and click move to vault button
How to logout the Vault
To logout from the Vault you need to click on the lock icon and the vault will be password protected again
Can I add a file that is not shown in the scan results to the vault? Can I add other file types? What about folders?
Yes, you can(!), and there are 2 ways to go at it:
1. Find the files or folders you wish to secure into the vault, click on them once to mark them, and right click.
In the pop-menu you will have the option to ‘Add to Identity Theft Preventer Vault’. Click that option to add it to the vault directly.

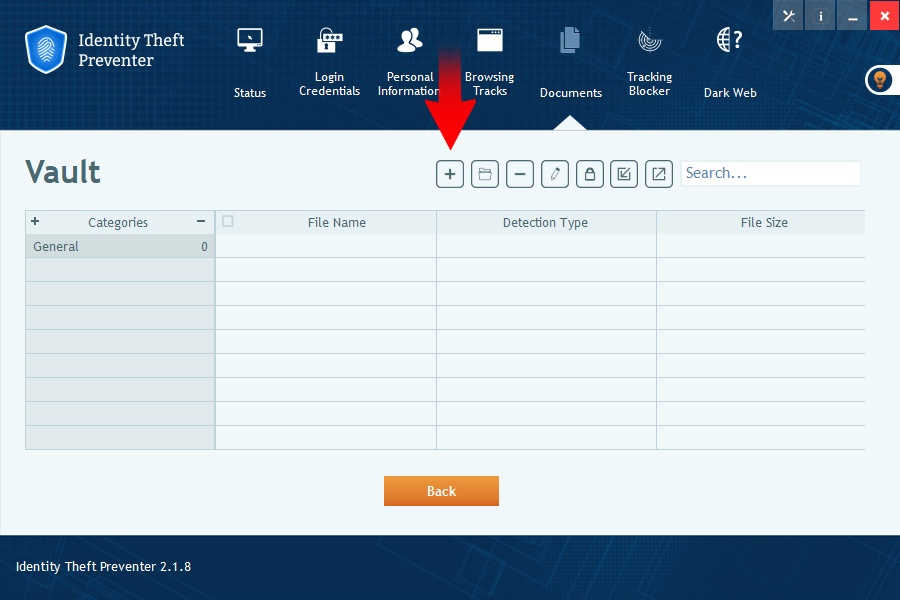
2. From within the Vault (this is for a single file addition):
click on the + icon and choose the file you wish to add to your vault.
To add an entire folder:
Click the folder icon

Select a folder from your local computer and click OK
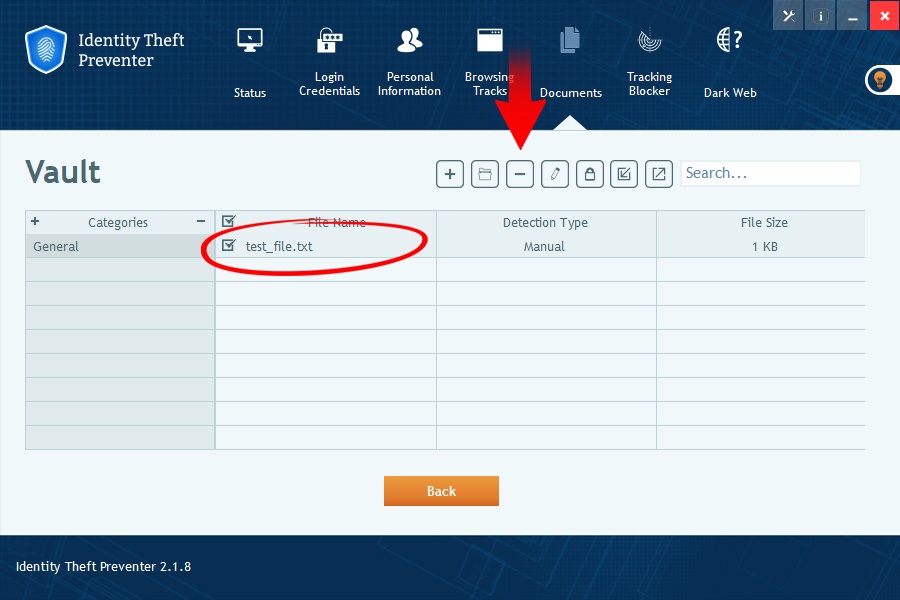
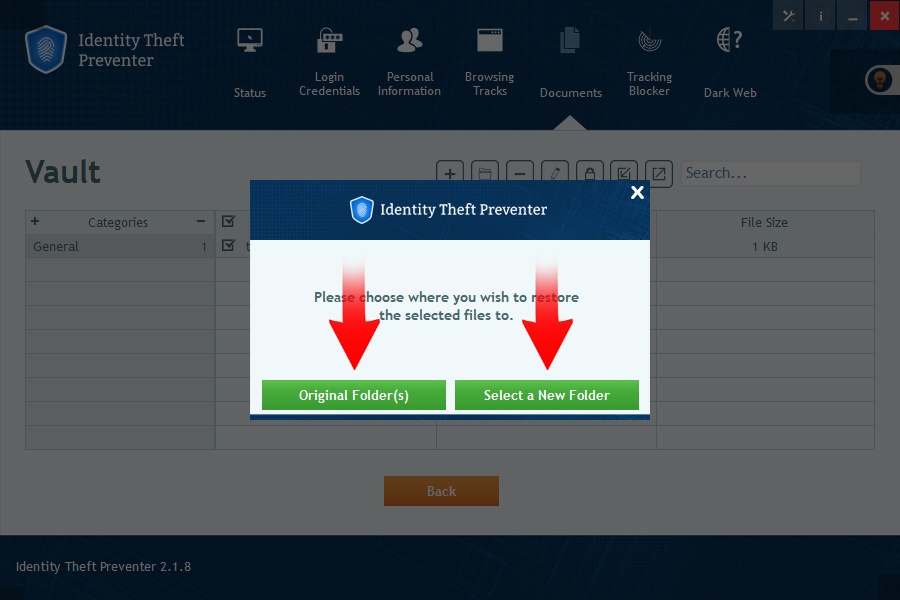
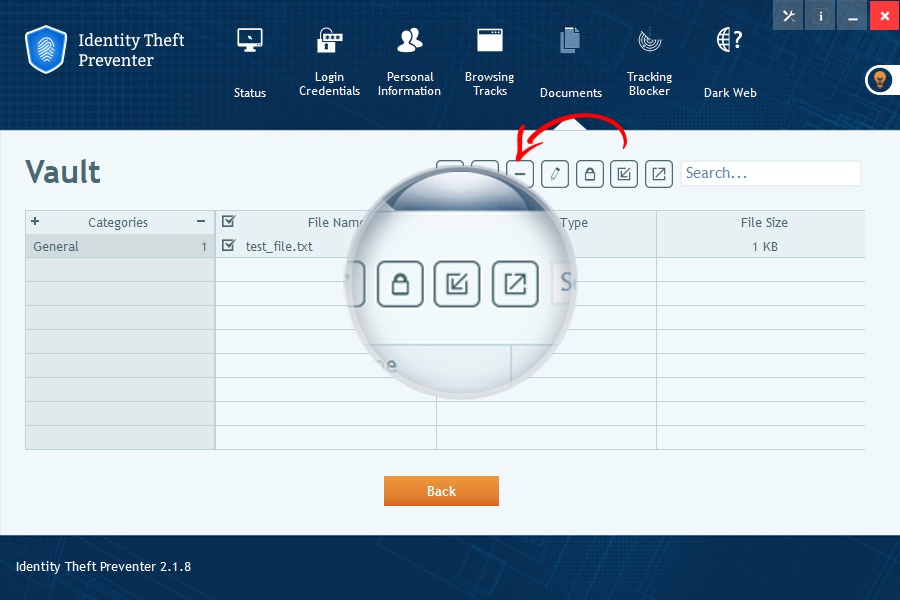
Restoring a file/folder from the vault
– Open the vault
– Find the file or folder you wish to remove from the vault
– Click the – icon
Select the new location you wish to export your files to
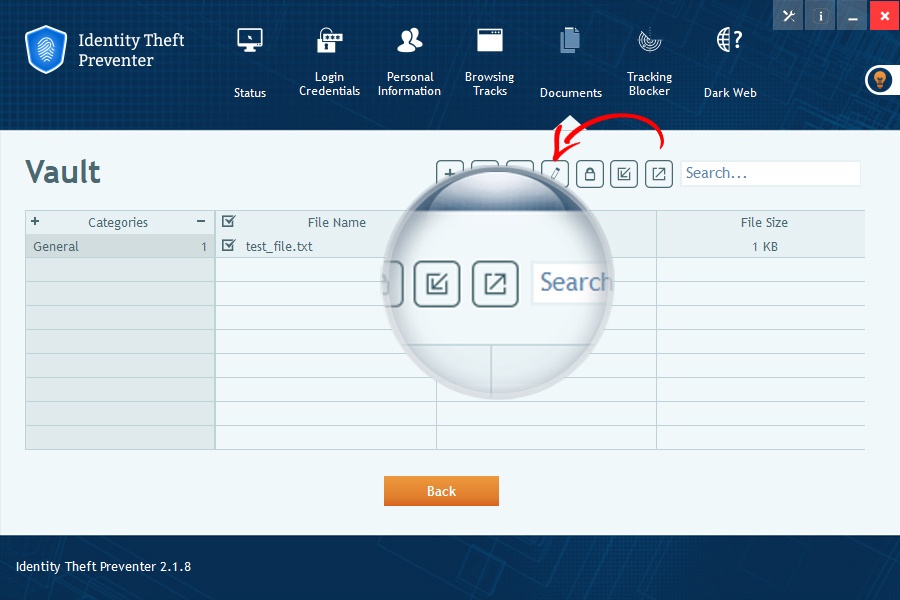
Can I edit a file that is in the Vault?
– Yes, double click the file within the vault
– The file will open
– Edit the file and close it. It will be saved and encrypted inside the vault
How to export your documents from the vault
Click on the export Icon -> files will be exported to a local folder of your choosing
How to import documents to the vault if you have already been using Identity Theft Preventer
In case you are migrating between 2 computers, old and new for example, you should do the following in order to keep your vaulted files secure:
– Click on the export Icon ![]() files will be exported to a local folder of your choosing.
files will be exported to a local folder of your choosing.
To import the files to the Vault in your new computer:
– Copy the exported file to the destination computer
– Click on the Import Icon
– Select the file you exported from the previous device.
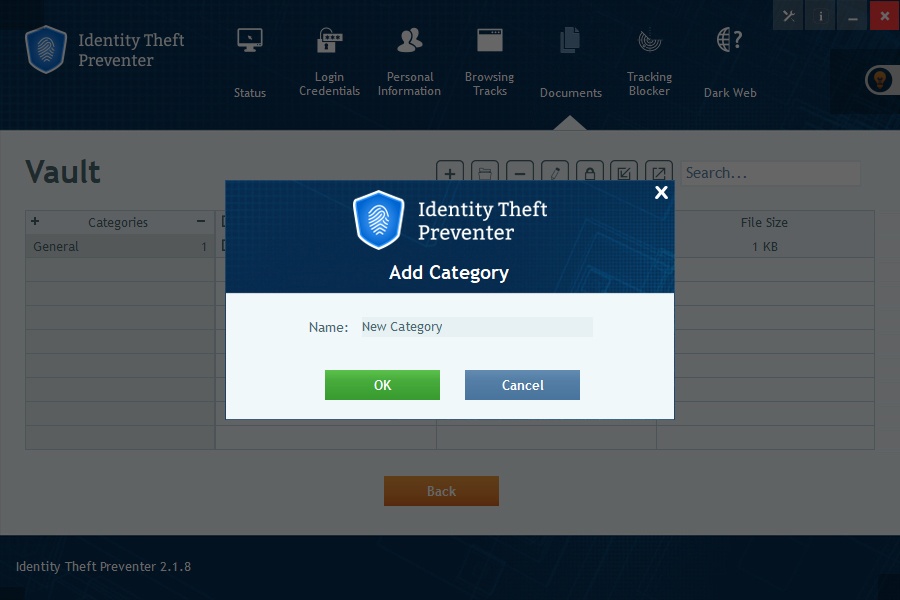
How to add and manage categories in the vault
– Click on the + icon to add a new category.
– Select a category name.